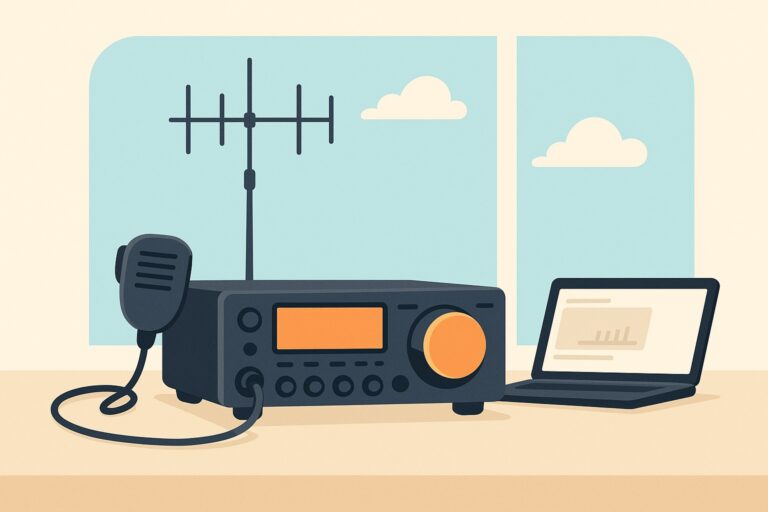
How to Safely Ground Your Ham Radio Equipment
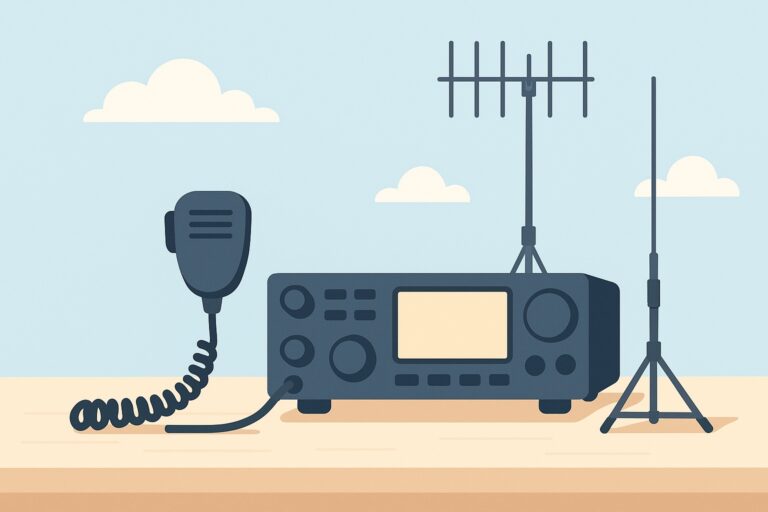
When it comes to operating ham radio equipment, proper grounding is one of the most important safety and performance factors you’ll ever encounter. Not only does it shield your gear from electrical hazards, but it also reduces noise and interference, ensuring your station operates at its best. Whether you’re setting up a home shack or a field station, understanding and implementing correct grounding techniques can protect both you and your investment for years to come.
How to Safely Ground Your Ham Radio Equipment
Understanding the Importance of Proper Grounding
Grounding is more than just a technical requirement—it’s a fundamental safety measure and a performance booster for your ham radio setup. When dealing with high-frequency signals and sensitive electronics, you want to minimize any risk of electrical shock, equipment damage, or unwanted noise.
The ARRL emphasizes that grounding serves three primary functions: electrical safety, lightning protection, and RF management. Each of these is critical in maintaining a safe and effective amateur radio station. Electrical safety protects you and your household from accidental shocks. Lightning protection helps prevent catastrophic damage from direct or nearby strikes. RF management, meanwhile, ensures that stray currents and interference don’t degrade your signal quality.
Ignoring proper grounding can lead to problems such as:
- Unwanted hum or noise in your transmissions
- Malfunctioning or damaged equipment
- Increased risk of fire or electrical shock
Taking grounding seriously is a hallmark of a responsible ham operator, and it pays dividends in safety, clarity, and longevity of your equipment.
Types of Grounding in Ham Radio
There are several types of grounding that every ham radio operator should be aware of, each serving a unique purpose in your station’s overall safety and performance.
- Electrical Safety Ground: This is tied to your building’s electrical ground and helps protect both you and your gear from electrical faults. It ensures that if a live wire touches your equipment, the current safely dissipates into the earth, tripping your circuit breaker instead of shocking you.
- Lightning Protection Ground: For stations with outdoor antennas, this is crucial. A proper grounding system can reduce the risk of equipment damage from lightning strikes by providing a low-resistance path to earth. This type of ground is typically established with dedicated ground rods driven deep into the soil near your antenna mast and connected with heavy gauge copper wire.
- RF Ground: Radio frequency grounding helps manage unwanted currents that can flow along the outside of coaxial cables and other conductors, causing interference and noise. Good RF grounding keeps your signals clean and helps prevent “hot chassis” problems where equipment enclosures become energized with stray RF.
Combining these grounding types into a cohesive system is the best way to ensure your ham radio station is both safe and efficient.
Step-by-Step Guide to Grounding Your Equipment
Setting up a proper grounding system might seem intimidating, but with a step-by-step approach, you can ensure your station is protected and operating optimally. Here’s how to ground your ham radio equipment effectively:
-
Assess Your Station’s Needs
Start by evaluating your equipment and station layout. Take note of all devices that require grounding, including transceivers, amplifiers, power supplies, and antenna masts. Consider the distance to your building’s electrical ground and the placement of outdoor antennas.
-
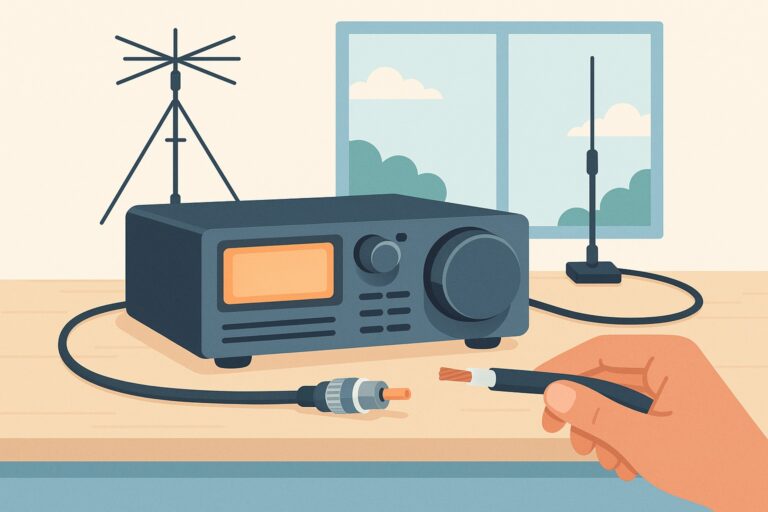
Choose the Right Materials
Material choice is crucial for effective grounding. Using copper ground rods and heavy gauge copper wire is recommended for effective grounding due to their high conductivity and corrosion resistance. Copper wire, typically #6 AWG or thicker, is ideal for connecting equipment and ground rods.
-
Install Ground Rods
Drive one or more copper ground rods at least 8 feet into the soil outside, as close as possible to where your station’s cables enter the building. For even better protection, use multiple rods spaced several feet apart and bonded together with copper wire.
-
Connect All Equipment to a Single Ground Point
Run heavy gauge copper wire from each piece of equipment to a central ground bus bar (a thick copper strip or plate). Grounding all equipment to a single point helps prevent ground loops, which can cause interference and equipment malfunction. From the bus bar, connect directly to your ground rods outside. This “star” or “single-point” grounding method is preferred over daisy-chaining one device to the next.
-
Bond Station Ground to Electrical Ground
For maximum safety, bond your station’s ground system to your home’s electrical ground—usually at the main service panel. This helps equalize potential differences and further reduces shock hazards.
-
Ground Your Antenna Mast
If you have an outdoor antenna, ensure the mast is grounded with its own heavy copper wire running directly to the ground rod. This provides a direct path for lightning energy to reach earth without passing through your shack.
-
Double-Check Connections
All connections should be tight, secure, and free of corrosion. Use proper clamps or connectors designed for outdoor exposure. Periodically inspect and maintain these connections for reliability.
Following these steps will help you create a robust, effective grounding system that safeguards your equipment and enhances your ham radio experience.
Common Grounding Mistakes to Avoid
Even experienced operators can make mistakes when grounding their equipment. Avoiding these pitfalls will help you achieve safer and more reliable operation:
- Daisy-Chaining Equipment: Connecting one device to the next (instead of to a central point) can create ground loops and increase the risk of interference.
- Neglecting Outdoor Antenna Grounds: Failing to ground the antenna mast leaves your station vulnerable to lightning damage.
- Using Inadequate Materials: Thin wires or non-copper materials corrode easily and do not provide low resistance, reducing the effectiveness of your ground system.
- Forgetting to Bond Grounds: Keeping your station and electrical system grounds separate can lead to dangerous potential differences and electrical hazards.
- Ignoring Regular Inspection: Connections can loosen or corrode over time, so ongoing maintenance is essential.
Steering clear of these common errors will help ensure your grounding system remains safe and effective.
Maintaining and Testing Your Grounding System
Installation isn’t the end of your grounding responsibilities. Ongoing maintenance and testing are crucial for long-term safety and performance. Regular inspection and maintenance of grounding systems are crucial to ensure continued protection against electrical faults and lightning strikes.
Here are some tips for keeping your grounding system in peak condition:
- Inspect Connections: At least twice a year, check all connections for signs of corrosion, looseness, or wear. Clean or tighten as needed.
- Test Ground Resistance: Use a ground resistance tester to measure the resistance between your ground rods and earth. Ideally, this should be less than 5 ohms for effective lightning protection.
- Monitor for Noise: If you notice increased noise or interference on your signals, it may be time to check your RF grounding and connections.
- Document Changes: Keep a record of modifications, tests, and maintenance activities for future reference and troubleshooting.
By making grounding maintenance a routine part of your station upkeep, you’ll ensure long-lasting protection for your equipment and yourself.
For more detailed guidance and expert advice, be sure to visit https://hamradioplayground.com for the latest articles and tips on grounding and other essential ham radio topics.