Step-by-Step Guide to Proper Coaxial Cable Installation
Coaxial cables are an essential component of any ham radio setup, carrying your signals cleanly and efficiently from your radio to your antenna. Proper installation of these cables is crucial for maintaining strong signal quality and minimizing losses. In this step-by-step guide, you’ll learn how to select, install, and test coaxial cables to ensure the best performance for your ham radio system.
Step-by-Step Guide to Proper Coaxial Cable Installation
Introduction to Coaxial Cables
Coaxial cables, often simply called “coax,” are a type of electrical cable consisting of a central conductor, an insulating layer, a metallic shield, and an outer jacket. This design allows them to transmit radio frequency signals with minimal interference, making them ideal for ham radio applications.
Each type of coaxial cable has specific characteristics, such as diameter, flexibility, and loss factor, which make it suitable for different uses. The most common types in amateur radio include RG-58, RG-59, RG-6, and RG-11. Understanding their unique properties is key to choosing the right cable for your installation.
Attenuation, measured in decibels (dB) per 100 feet, tells you how much signal is lost as it travels through the cable. Lower attenuation means better signal preservation. For example, “RG-58 coaxial cable has an attenuation of approximately 21.5 dB per 1 GHz.” Thicker cables like RG-6 or RG-11 generally offer lower loss, which is important for longer cable runs or higher frequencies.
Selecting the Right Coaxial Cable
Selecting the ideal coaxial cable is a balance between length, frequency, flexibility, and budget. Start by considering your operating frequency and the distance between your radio and antenna. The longer the run and the higher the frequency, the more signal loss you’ll experience, so a low-loss cable is preferable.
- RG-58: Flexible and easy to work with, but “RG-58 coaxial cable has an attenuation of approximately 21.5 dB per 1 GHz.” It’s best for short runs and lower frequencies.
- RG-59: Slightly better than RG-58, but not ideal for higher frequencies or long runs. “RG-59 coaxial cable has an attenuation of approximately 20.1 dB per 100 feet at 900 MHz.“
- RG-6: A popular choice for many ham setups. “RG-6 coaxial cable has an attenuation of approximately 6.4 dB per 100 feet at 950 MHz.” This makes it a good option for moderate cable lengths and higher frequencies.
- RG-11: Offers even lower loss, making it suitable for very long runs or demanding applications. “RG-11 coaxial cable has an attenuation of approximately 5 dB per 100 feet at 1,500 MHz.“
Also, consider the connectors you’ll need (such as PL-259 or F-type), the cable’s outdoor rating, and whether it needs to be UV or moisture resistant. For installations involving splitters, remember that “Each 2-way splitter adds almost 4 dB to system losses unless an amplified ‘lossless’ splitter is installed.” Factoring these losses in from the start will help ensure your signal remains strong.
For more detailed comparisons and recommendations, the team at https://hamradioplayground.com offers in-depth guides tailored to different ham radio needs.
Tools and Materials Needed
Having the right tools and materials on hand makes coaxial cable installation much easier and ensures a reliable connection. Here’s what you’ll typically need:
- Coaxial Cable: Select the type and length based on your installation requirements.
- Connectors: Common types include PL-259, BNC, N-type, or F-type, depending on your equipment.
- Coaxial Cable Stripper: A tool designed to strip the outer jacket and insulation without damaging the conductor.
- Wire Cutters: For trimming the cable to the desired length.
- Crimping or Compression Tool: Used to attach connectors securely to the cable.
- Soldering Iron (Optional): Some connectors require soldering for best results.
- Multimeter: Useful for continuity checks and troubleshooting.
- Electrical Tape or Heat Shrink Tubing: For weatherproofing and securing connections.
- Cable Clips or Ties: To neatly route and secure your coaxial cable along walls or other surfaces.
Before you begin, double-check that your tools match the type and size of cable you’re working with. Specialized strippers and crimpers are available for different coax sizes, so using the correct tool will prevent signal loss or damage to the cable.
Step-by-Step Installation Process
Installing coaxial cable correctly involves careful preparation, precise measurements, and clean terminations. Follow these steps to achieve a professional result:
-
Plan Your Cable Route
Map out the most direct and safe path from your radio to the antenna. Avoid sharp bends, kinks, and proximity to electrical wiring to reduce interference. Measure the distance accurately and add a little extra for slack and future adjustments.
-
Cut and Prepare the Cable
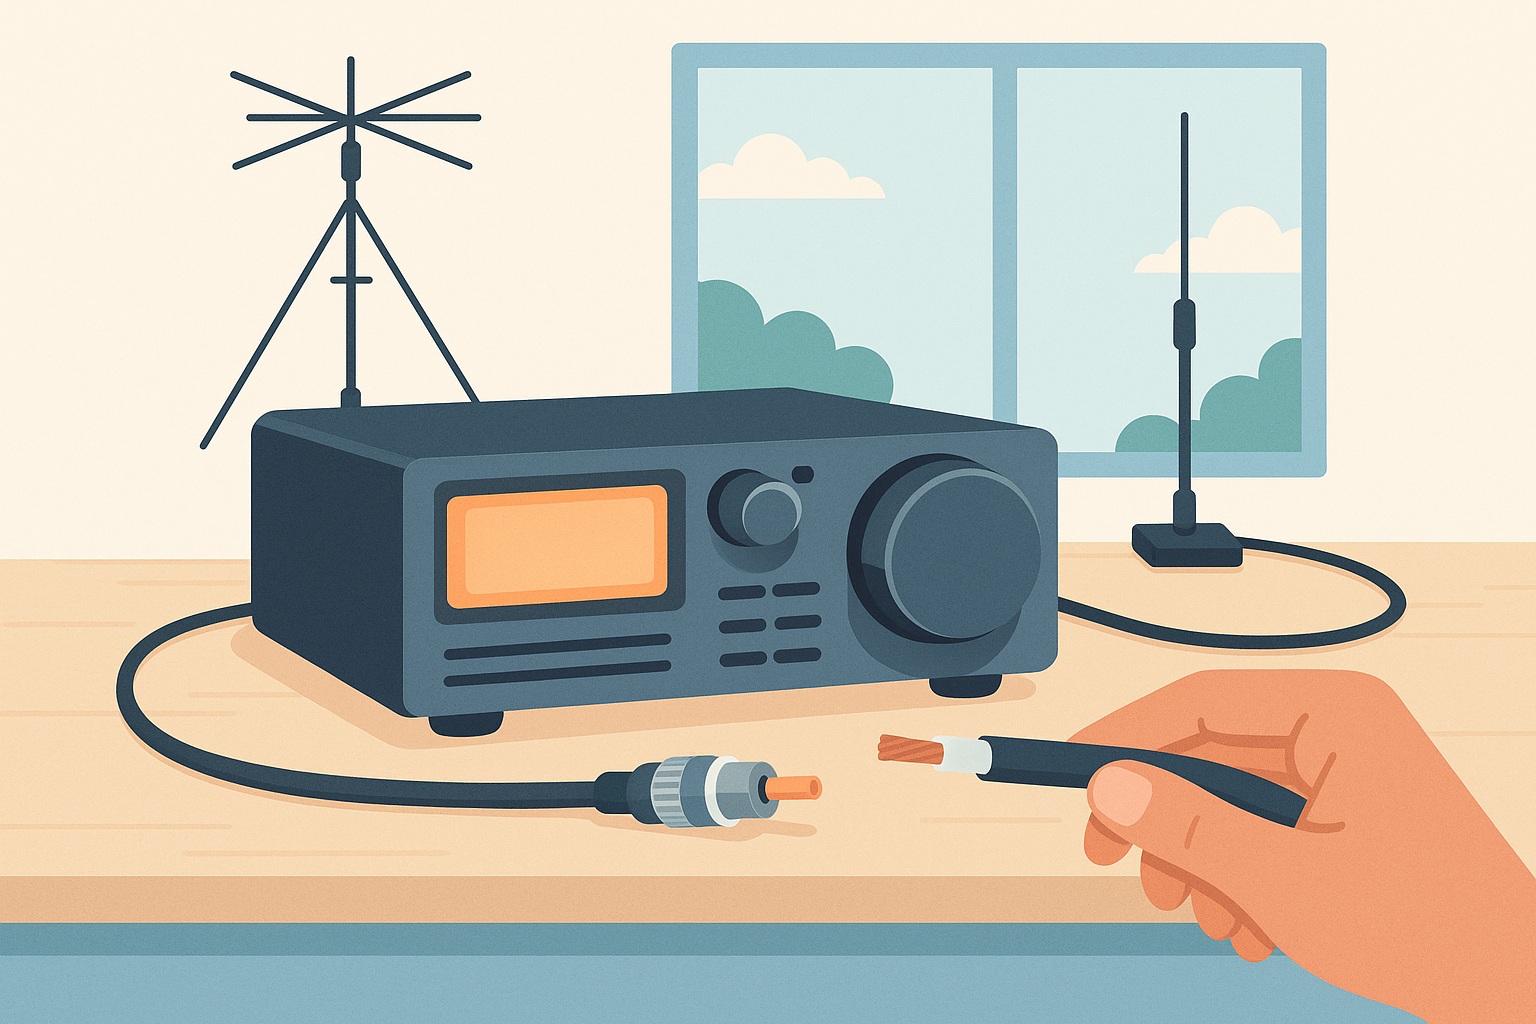
Using wire cutters, trim the cable to your measured length. Use a coaxial cable stripper to carefully remove the outer jacket, exposing the shield and inner insulation. Take care not to nick or damage the braid or center conductor during this process.
-
Attach the Connectors
Slide the connector pieces onto the cable in the correct order. For crimp or compression connectors, use the appropriate tool to secure them firmly. If using solder-type connectors, heat the connector and apply solder for a reliable electrical connection. Check that the center conductor extends to the correct length within the connector and that the shield makes good contact with the connector body.
-
Route and Secure the Cable
Lay out the cable along your planned route, using clips or ties to keep it in place. Avoid tight bends or pinching the cable, especially near connectors. If running the cable outdoors, use weatherproofing measures such as electrical tape or heat shrink tubing at the connectors to prevent moisture ingress.
-
Connect to Equipment
Attach the cable to your radio and antenna terminals, ensuring the connectors fit snugly. Hand-tighten connectors, but do not over-torque, as this can damage threads or the cable.
-
Label and Document
Label each end of the cable for easy identification, especially if you have multiple runs. Document your installation details, including cable type, length, and routing path, for future reference and troubleshooting.
Take your time with each step to ensure clean cuts, well-fitted connectors, and a neat installation. A little extra care during installation can save you from headaches and performance issues down the road.
Testing and Troubleshooting
After installation, it’s important to test your coaxial cable to confirm signal integrity and identify any issues. Start with a basic continuity check using a multimeter—verify that the center conductor and shield are not shorted and that you have proper continuity from end to end.
Next, connect your radio and tune to a known signal or use a signal generator. Monitor the signal strength and quality. If you notice weak signals or excessive noise, check all connectors for tightness and proper contact.
If you’re using splitters or long runs, remember that “Each 2-way splitter adds almost 4 dB to system losses unless an amplified ‘lossless’ splitter is installed.” This cumulative loss can be significant, especially with low-power signals, so consider eliminating unnecessary splitters or upgrading to amplified models if needed.
- Signal Loss: If you suspect high attenuation, compare your installation to the cable’s rated losses. For example, “RG-6 coaxial cable has an attenuation of approximately 6.4 dB per 100 feet at 950 MHz.” If your run is 100 feet and you’re experiencing much greater loss than expected, re-examine your connectors and cable condition.
- Interference: Keep cables separated from power lines and sources of electromagnetic noise. Replace damaged cables or connectors promptly.
- Weatherproofing: Inspect outdoor connections for signs of water ingress or corrosion. Reapply tape or heat shrink as needed.
Persistent issues may require more advanced testing tools, such as a Time Domain Reflectometer (TDR) or SWR meter, to pinpoint faults or impedance mismatches. Don’t hesitate to revisit your installation steps or consult with the ham community at https://hamradioplayground.com for additional troubleshooting advice.
With patience and attention to detail, your coaxial cable installation will deliver reliable, high-quality performance for years to come!

